
Microsoft Copilot is available directly inside Microsoft Teams, giving you an AI assistant that can draft content, summarize documents, analyze data, and pull from your connected work applications without leaving Teams. This article covers how to access Copilot, how to configure it for the task at hand, and what data you are permitted to use with it.
Signing in and accessing Copilot
Copilot appears as its own item in the left navigation rail of Teams, labeled Copilot. If you do not see it:
- Confirm you are signed in with your @umd.edu email.
- Click the ... (more apps) icon in the left rail and search for Copilot, then right click it and select Pin so it stays visible.
- If Copilot does not appear at all, your account may not yet have a license assigned. Contact Athletics IT to confirm your license status.
Copilot is available in both the Teams desktop app and the Teams web client at teams.microsoft.com. Your chat history, connected sources, and settings follow your account across both.
Model selection
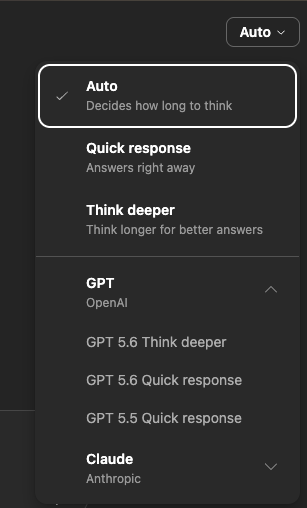
The model selector sits in the top right of the Copilot window and typically defaults to Auto. Auto lets Copilot pick a model based on the complexity of your request, which works well for routine tasks.
You can override this by clicking the dropdown and choosing a specific model tier:
- Auto is fine for quick questions, short drafts, and summaries.
- Higher tier models are recommended for complex reasoning, long document analysis, data interpretation, and any creative or graphic design work.
Microsoft periodically updates which models are available and which one sits at the top of the list. Rather than looking for a specific version number, select whichever option is currently labeled as the most capable when your task calls for it.
Work vs. Web
Directly above the message box you will see a toggle between Work and Web. This controls where Copilot looks for information, and choosing correctly makes a significant difference in the quality of your results.
Work grounds Copilot in your Microsoft 365 environment. It can reference your emails, Teams chats and meetings, calendar, SharePoint sites, OneDrive files, and any third party sources you have connected. Use Work mode when your question is about internal information, for example summarizing a meeting you attended, finding a document a colleague shared, or drafting a reply based on an email thread.
Web grounds Copilot in public internet content. Use Web mode for general research, current events, industry information, or anything where the answer lives outside the university.
If you ask an internal question while in Web mode, Copilot will not be able to see your files, and vice versa. When results seem incomplete, checking this toggle is usually the first thing to verify.
Data security and classification
Microsoft 365 Copilot operates inside the university's Microsoft tenant and respects the existing permissions on your files. Copilot can only surface content you already have access to, and prompts and responses are not used to train Microsoft's underlying models.
You may use data classified up to Level 2 under the UMD Data Classification Standards with Copilot in Teams.
Do not enter data classified above Level 2 into Copilot. This includes, but is not limited to, protected health information, financial account numbers, Social Security numbers, and any data subject to FERPA restrictions beyond what your role permits. If you are unsure how a particular data set is classified, check the UMD Data Classification Standards or contact Athletics IT before proceeding.
The same rule applies to files you attach and to content pulled in from connected third party sources. Connecting a source does not change the classification level of the data inside it.
Copilot Prompt Gallery
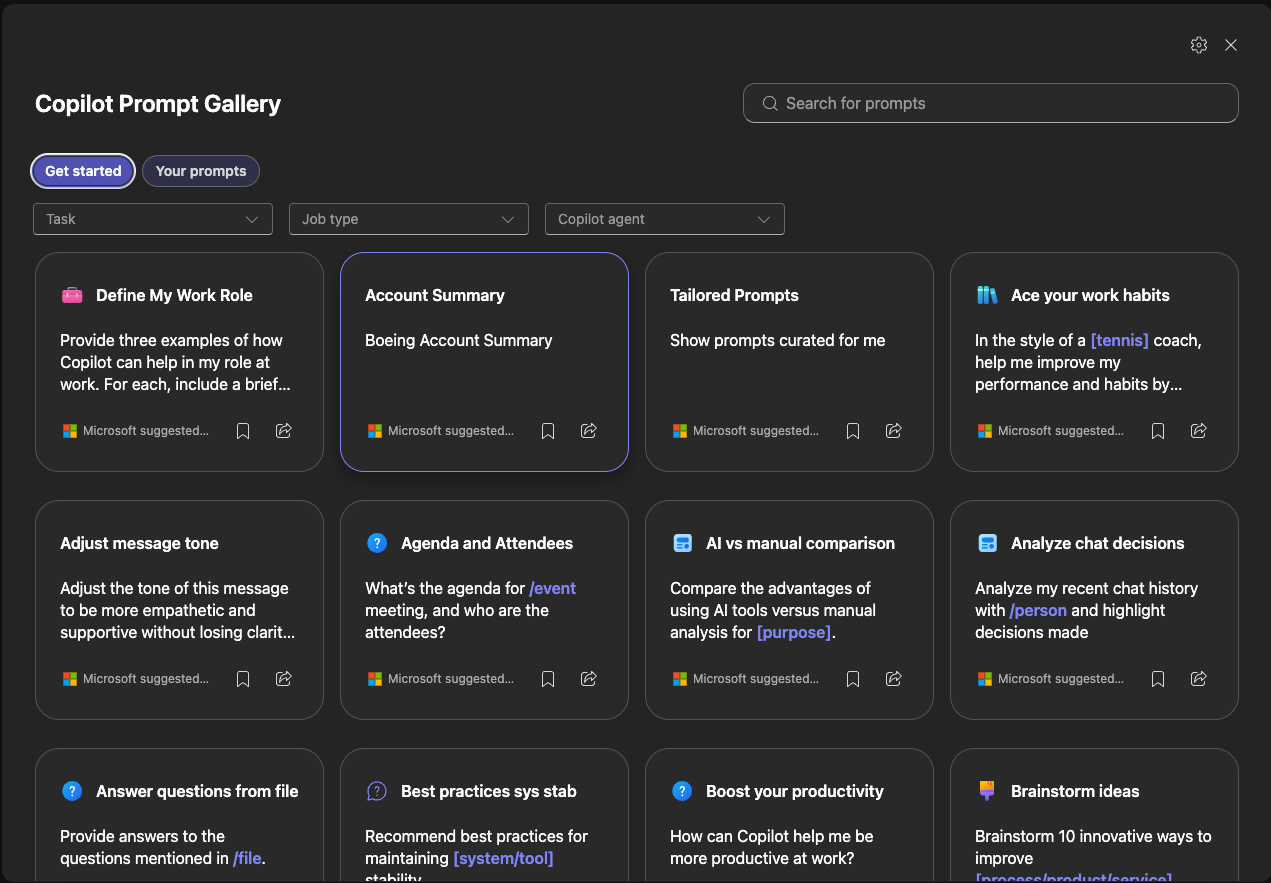
If you are not sure how to phrase a request, the Prompt Gallery provides a library of ready made prompts organized by task and by application.
To access it, look for the prompt or suggestion option near the message box (often shown as Suggest or a prompt icon). You can browse prompts by category, filter by the type of work you are doing, and save the ones you use frequently so they are easy to reach later.
The gallery is a good starting point for learning what Copilot can do. Most prompts are written as templates you can edit, so treat them as a foundation and adjust the specifics to your situation.
Connecting sources
Copilot can connect to third party applications so it can reference content stored outside Microsoft 365. Connected sources appear as agents you can call directly in chat.
To connect a source:
- Open Copilot in Teams.
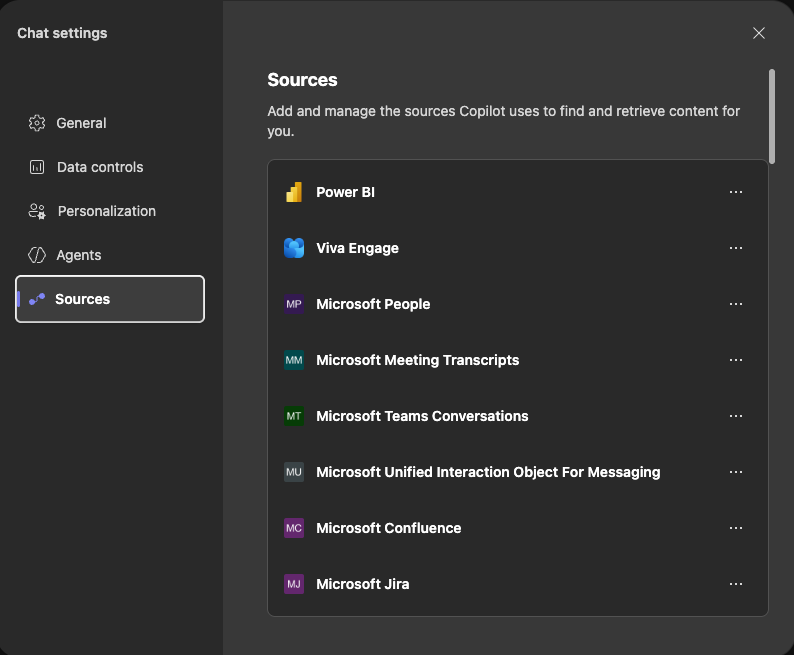
- Click the ... (three dot menu) in the top right of the Copilot window and select Settings.
- Choose Sources from the left menu of the Chat settings panel.
- Search for the application you want in the "Browse sources" box.
- Click Connect and complete the authentication prompt.
Once connected, you can reference a source by typing @ followed by its name, or by clicking the + icon in the message box and browsing the available agents.
A few notes on connected sources:
- Some connections do not complete correctly in the Teams desktop app and should be set up in the web client instead. See the Canva KB article for a documented example.
- Connecting a source only gives Copilot access to content that your own account can already see in that application.
- Data classification rules still apply. Do not connect or reference sources containing data above Level 2.
Questions
Reach out to Athletics IT at athleticsit@umd.edu with any questions about Copilot access, licensing, or appropriate use.